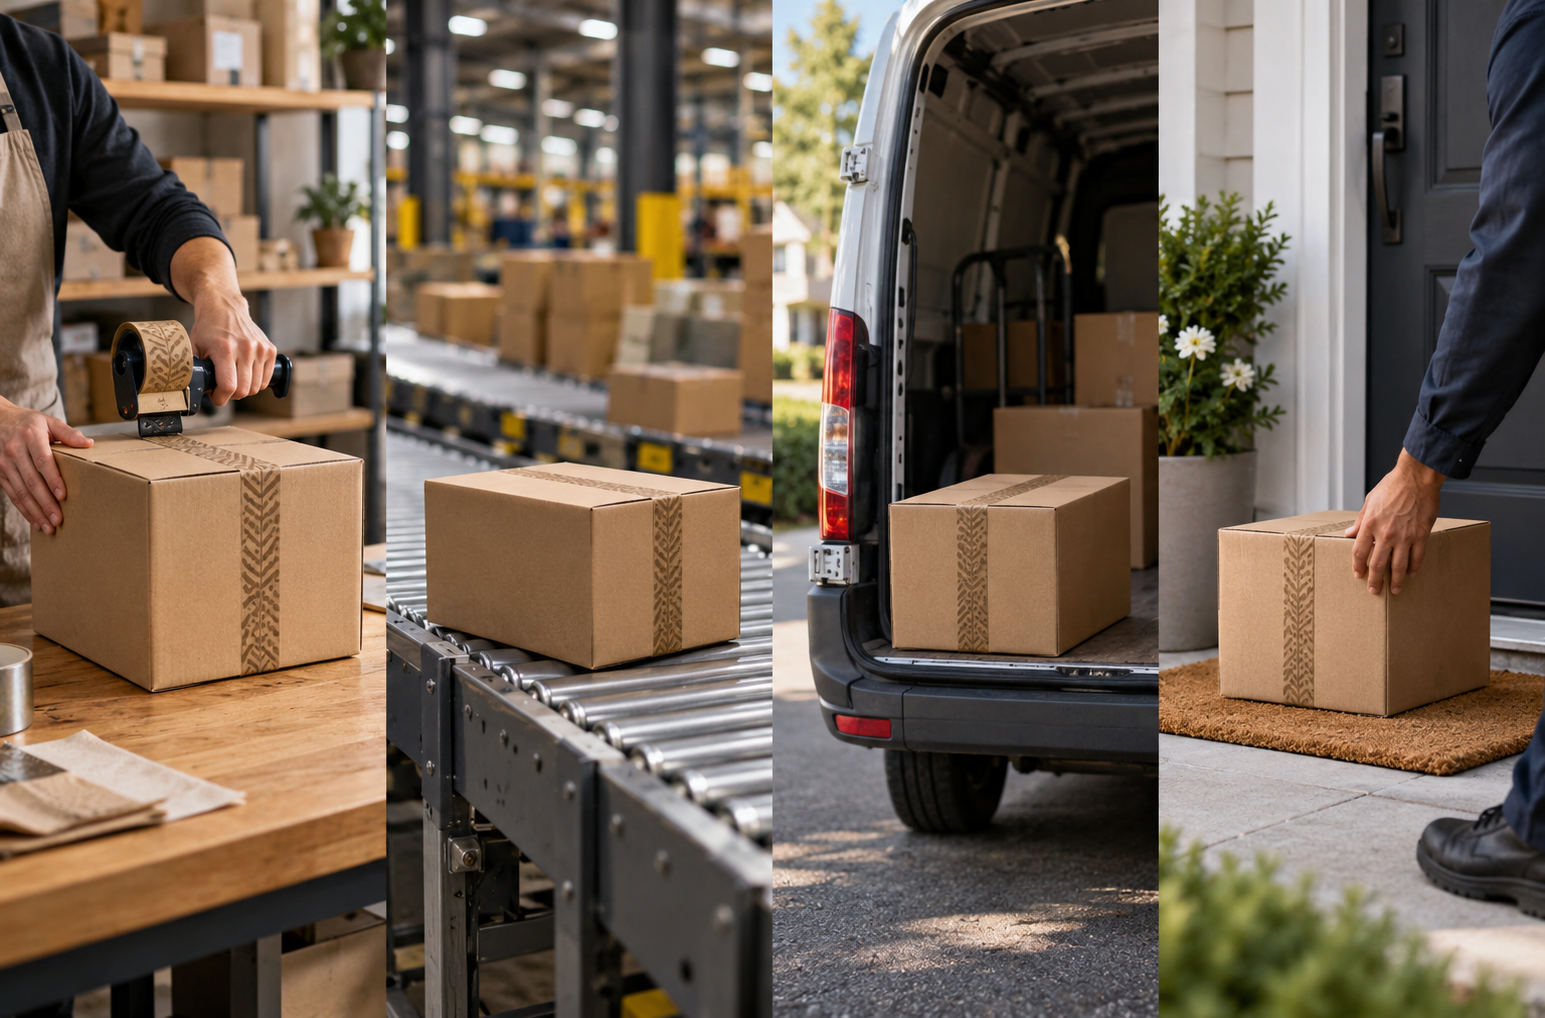
A shipping box has a short working life, but it is not a quiet one. It is folded, filled, sealed, lifted, stacked, scanned, pushed across conveyors, loaded into vehicles, left in receiving areas, and finally opened.
The right packing tape for shipping has to fit that entire journey. A tape choice that looks fine on an empty sample box may behave differently once the carton is filled, handled, and exposed to the actual delivery route.
This is the useful way to evaluate tape: follow the box.
Stop 1: The Packing Bench
The journey starts before the tape touches the carton.
The packer has already made several decisions: which box fits the product, how much empty space remains, whether cushioning is needed, and where the shipping label will go. Tape is the final closure step, not a repair for the decisions that came before it.
At the bench, check three things first:
- Is the corrugated surface clean enough for the selected adhesive system?
- Does the tape width cover the seam without interfering with folds or labels?
- Can the packer apply a consistent strip without wrinkles, loose ends, or unnecessary overlap?
A weak carton does not become a strong shipping system simply because more tape is added. Likewise, a suitable carton can still fail if the closure is poorly applied.
If you are comparing materials, the water-activated tape vs BOPP tape guide explains the practical differences without treating either option as universally better.
Stop 2: The First Lift
The first real test often happens a few seconds after sealing. Someone picks up the filled box.
That movement changes the carton. Product weight loads the bottom panels, the box flexes, and the top seam may shift slightly. A strip that was applied loosely can begin to lift at an edge. An overfilled carton can place upward pressure on the closure. An underfilled carton can crush when another box is placed on top.
This is why a tape test should use a representative filled carton, not an empty box on a conference table.
For each regular carton size, record:
- the filled weight;
- the top and bottom seam layout;
- the normal strip length;
- the surface condition;
- the application method;
- any recurring lifting, wrinkling, or tearing.
The goal is not to create a laboratory report. It is to make the packing decision repeatable.
Stop 3: The Warehouse and Conveyor
Once the box leaves the bench, appearance stops being the only concern.
Cartons may rub against guides, touch neighboring parcels, rotate on belts, and pass beneath scanners. A long loose tape end can catch. A shipping label placed across the only visible logo can remove most of the branding value. A second strip added by a warehouse can cover the original print.
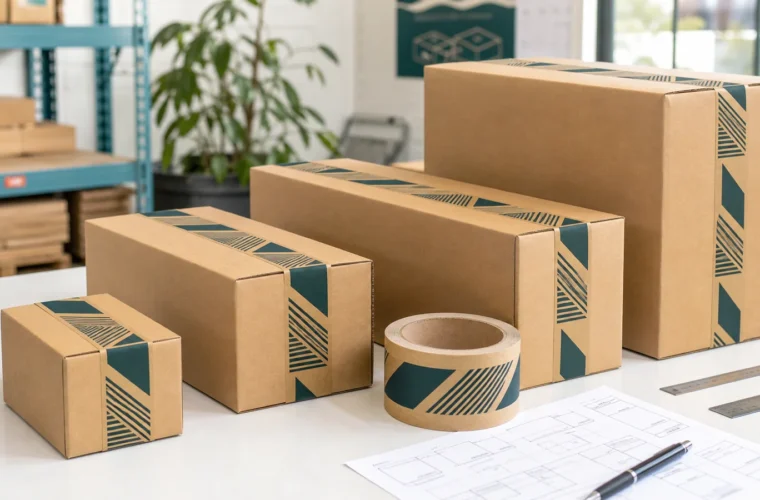
For custom shipping tape, the practical design question is not simply, “Does the logo look good on the roll?” It is, “Does a normal cut strip still work on the packed box?”
Check the sealed carton from several angles:
- Is at least one complete brand mark visible?
- Is the barcode area clear?
- Does the tape cross a label, document pouch, or carton opening feature?
- Can the design still be recognized after the strip bends over an edge?
The tape should support the shipping workflow, not compete with it.
Stop 4: The Truck and Distribution Route
Inside a delivery network, boxes do not remain in the same orientation. They may be stacked, repositioned, transferred between vehicles, and held in facilities with different temperatures and humidity levels.
No tape supplier can promise that tape alone will protect every shipment. Route performance also depends on the carton, contents, fill, stacking load, surface, application, and handling.
For longer or less predictable routes, test the complete package. The long-distance shipping carton guide provides a practical way to document route risks without making unsupported strength claims.
The useful questions are specific:
- Does the closure remain flat after the filled box rests overnight?
- Do the tape edges remain attached after normal handling?
- Does the carton bow or distort under its actual contents?
- Are failures occurring at the tape, the board surface, the seam, or the application step?
Changing tape without identifying the failure point can hide the real problem.
Stop 5: The Receiving Area or Front Door
The last mile changes how the package is judged.
A business shipment may arrive at a loading dock or reception desk. A consumer order may sit on a porch, in a parcel room, or beside other deliveries. At this stage, the outer carton becomes both a shipping container and a visible introduction to the sender.
Branded tape can help identify the package, but visibility is not always an advantage. Products involving gifts, health, high-value items, or personal purchases may benefit from a quieter exterior. In those cases, plain packing tape may be the more considerate choice.
Weather exposure also belongs to the package system, not the tape alone. Paper-based tape should not be described as making a corrugated box waterproof. If doorstep exposure is likely, consider the carton, internal protection, carrier process, and delivery instructions together.
Stop 6: The Opening
At opening, the recipient learns whether the seal feels deliberate or improvised.
A clean strip across the seam can make a plain box look organized. A crooked strip, several overlapping patches, or a logo cut into unreadable fragments can do the opposite.
Water-activated paper tape may leave visible disturbance when removed from corrugated board. That can help a recipient notice that the seal has been opened, but it should not be described as theft-proof or as a guarantee against interference. This is category guidance, not a tamper-evidence claim for BrandTapeCo’s self-adhesive kraft tape.
The opening experience is only one part of the journey. The closure still has to work at every earlier stop.
What the Box Needs at Each Stage
| Stage | What can go wrong | What to check |
|---|---|---|
| Packing bench | Wrong width, poor application, label conflict | Carton seam, dispenser, strip placement, label area |
| First lift | Box flexes or closure edges lift | Test a representative filled carton |
| Warehouse | Tape catches, wrinkles, or becomes covered | Edge adhesion, cut length, barcode clearance |
| Transport | Carton bows, shifts, or experiences changing conditions | Complete-package test and route review |
| Delivery | Branding is too visible or weather exposure is possible | Privacy, exterior condition, delivery environment |
| Opening | Seal looks patched or artwork is unreadable | Straight application, repeat, cut points, opening method |
When Ordinary Packing Tape Is Enough
Custom printing is not necessary for every shipment.
Plain tape may be the better choice when:
- shipping volume is irregular;
- the company does not control fulfillment;
- the logo or business name is changing;
- the outer carton should remain discreet;
- the shipping box already carries enough branding;
- the business is still testing cartons and pack methods.
Custom tape becomes more useful when the closure is already standardized and the company wants one repeated brand element across plain shipping boxes.
The custom packaging tape selection guide can help separate the branding decision from the carton and application requirements.
A Practical Test Before Ordering
Choose the smallest, largest, and most frequently used shipping cartons. Pack each one as it would leave the business. Apply the proposed tape with the intended dispenser and normal strip length.
Then move the boxes through a simple internal route:
- leave them sealed for the normal time before carrier pickup;
- lift and restack them several times;
- place them on their different faces;
- check the seams, edges, and printed repeat;
- photograph the cartons at packing and again before opening;
- record whether the issue belongs to the tape, carton, design, or process.
If recycled corrugated boxes are common in your operation, include them rather than assuming all board surfaces behave alike. See the recycled corrugated box tape test for a focused evaluation.
Frequently Asked Questions
What is the best packing tape for shipping?
There is no single best option for every box. The right choice depends on the carton surface, filled weight, seam, route, application method, and whether branding is required. Test the complete filled package before standardizing the tape.
Can I use paper tape for shipping boxes?
Paper tape can be used on corrugated shipping boxes when its adhesive system, width and application suit the carton and packing workflow. Water-activated paper tape requires moisture according to its supplier’s instructions. BrandTapeCo’s self-adhesive kraft tape is a different format and is applied without water.
Does more packing tape make a box stronger?
Not necessarily. Extra strips do not correct an unsuitable carton, excess empty space, overfilling, poor surface conditions, or inconsistent application. Identify the source of the failure before adding tape.
Should branded tape cover the shipping label?
No. Keep barcodes, addresses, and carrier information clear. Plan the tape path and label area together on the actual carton.
Is custom shipping tape worth it for plain boxes?
It can be when one design works across several plain carton sizes and the business controls the packing process. Plain tape may be better while the box range, artwork, or fulfillment workflow is still changing.
Choose Tape for the Route, Not the Mockup
Packing tape for shipping should be selected on a filled carton and evaluated across the journey the box will actually make. Start with closure performance, then decide whether custom printing adds useful recognition without complicating labels, privacy, or packing work.
If self-adhesive printed kraft tape fits that workflow, review BrandTapeCo’s custom self-adhesive kraft packing tape options. Apply it without water and test the proposed configuration on your regular shipping cartons.